
")

A gated deck makes for a more private space and adds an element of safety for kids or pets. Adding a gate can also help redefine the aesthetic of your deck. If you’re feeling creative, you can build your own DIY deck gate from scratch. But if you’re not an experienced craftsman, it’s often much simpler to use premade models like the Trex deck gate, which are designed with strength, durability, and minimal upkeep in mind.SHARE
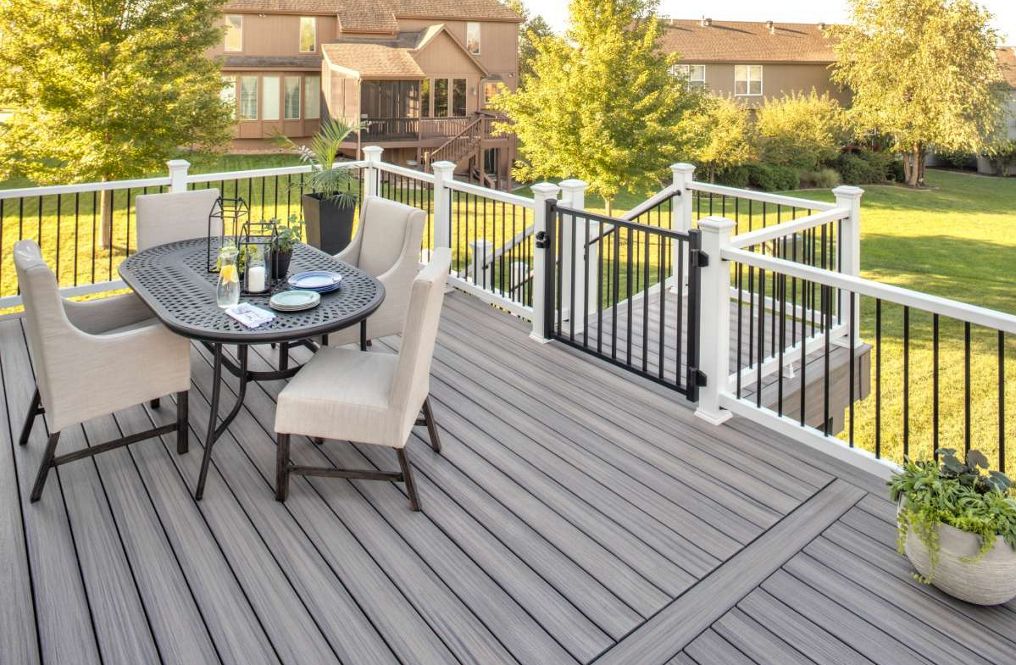
A gated deck makes for a more private space and adds an element of safety for kids or pets. Adding a gate can also help redefine the aesthetic of your deck. If you’re feeling creative, you can build your own DIY deck gate from scratch. But if you’re not an experienced craftsman, it’s often much simpler to use premade models like the Trex deck gate, which are designed with strength, durability, and minimal upkeep in mind.
Deck Gate Codes & Safety Guides
Regardless of whether you’re building a gate yourself or installing a pre-made gating system, the installation will need to meet local building codes and other safety requirements. While the International Residential Code doesn’t provide specific requirements for gates, it’s best practice to follow the guardrail guidelines to help prevent any issues with your building inspector. Some examples of best practices for a gate:
- The minimum height of a gate is determined by code requirements for rail height. For instance, a 36” rail would require a deck gate of 36 inches, whereas a 42-inch rail would require a 42-inch rail.
- Balusters must be spaced closely enough to prevent a 4-inch sphere from passing between
- The distance between the bottom of the gate and the decking should be no more than 4 inches when the gate is closed.
- The gate should open onto the deck — not onto the stairs or the ground.
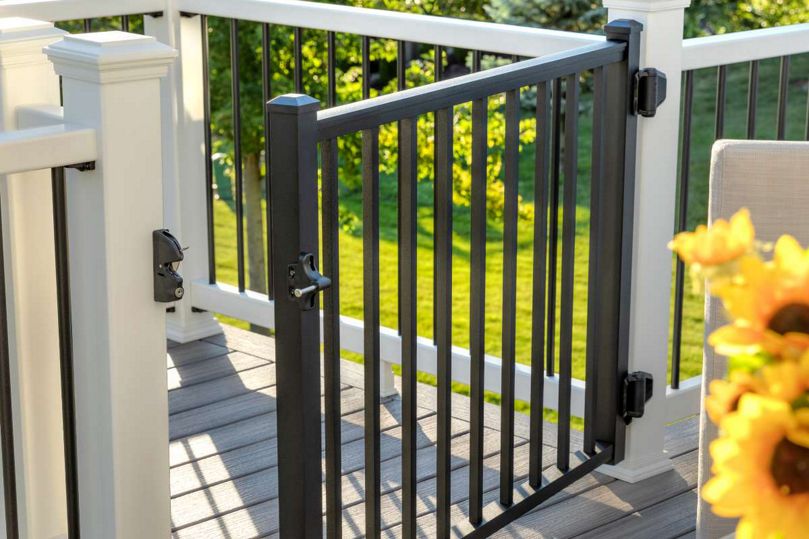
- Although not all gates require strap hinges, many wood and composite gates often require these straps, which must be strong enough to support its weight. However, Trex gates are made from aluminum and each baluster is welded to provide lateral stability, negating the need for a strap hinge.
Installing A Deck Gate
Installing a deck gate can be a relatively smooth process. The instructions below for a Trex gate are general enough to apply to the installation of almost any pre-fabricated metal deck. Installing a wood gate is a bit different because you’ll typically custom fabricate the gate to correct width to begin with. If that’s the case, you can skip to Step 4.
Step 1: Measure the gap of your deck gate
Start by measuring the length between the two posts where your gate will be installed. Then subtract 1-7/8″ [48 mm] from that measurement in order to allow for a small gap along the edges of the gate. With a few simple adjustments, a Trex deck gate can be customized to fit nearly any opening up to 48″ [1219 mm] wide.
Step 2: Lay down gate and align posts
After you’ve identified the top and bottom panel, lay the gate on an even, non-marring surface. Adjust the side-posts on both ends of the gate to match your measurements you’d taken previously. While making this adjustment, make sure the cuts you’re planning don’t align with a baluster.
If the cut you’re planning aligns with a baluster, then you’ll need to remove it before adjusting the size of the paneling. Cut any unnecessary balusters out of the frame, removing them flush against the panel.
Keep the distance between the first baluster and the nearest side-post identical on both sides of the gate. Then mark cut locations for any unnecessary panels. Cut the panel flush from top to bottom using a reciprocating saw with a metal blade, and discard unnecessary sections. You can also use a miter saw equipped with a non-ferrous metal blade to complete this step.
Step 4: Insert gate into posts
Cover the sections you’ve just cut by placing side-posts on both sides of the gate. Double check that the top and bottom orientation of the panels is correct. You should be able to glide one section into the other with minimal force.
Step 5: Secure posts to gate with screws
Use 2” #8-18 self-tapping screws to connect the side-posts and panels together on each corner of the gate. This generally requires four screws for each connection.
Step 6: Attach short side of hinges several inches from top and bottom of the gate
Use another set of self-tapping screws to connect the shorter side of the hinge to the top and bottom of the gate. If your gate is mounted in front of stairs, remember it should swing away from the stairs and not towards them. Take a moment to dry-fit the gate, ensuring that there’s a small gap on either side, and that it can swing freely.
Step 7: Place gate in deck opening on blocks
Placing the gate on blocks can make it easier to determine the correct hinge placement on deck posts. It can also make it easier to keep the gate where you want it during installation. If you can’t find adequately sized blocks, you can also have a friend help hold the gate in position.
Keep in mind that IRC/IBC code regulations dictate that the space between your deck and the bottom of the gate can’t exceed 4″ (102 mm.) It’s also important to ensure the bottom gate posts are high enough to clear skirts on the bottom of deck posts.
Step 8: Ensure posts are plumb and gate is level
Before attempting to attach the hinges, do a final check to ensure the gate is level and oriented correctly. Wooden gates tend to sag over time, and many builders compensate for that by making the hinge-free side of their gate slightly raised, as opposed to keeping it truly level. But you don’t need to make that compensation with gates made from lighter materials, like the Trex aluminum deck gate.
Step 9: Attach the longer side of hinges to the post and install latch near top of the gate
Keep your gate flush with the adjacent deck posts, and use a pencil to mark the top and bottom of the hinge location. With the longer side of the hinges attached to the deck post, place the hinges in position and connect them with 2-1/2” wood screws.
Step 10: Install caps on gate posts
With a Trex deck gate, the final step is to cover the screws on the topside of your gate. Place blocks under the gate for support, then use a rubber mallet to pound your gate’s post caps into position. Finally, remove the support blocks and ensure the hinges swing freely before enjoying your new DIY deck gate.